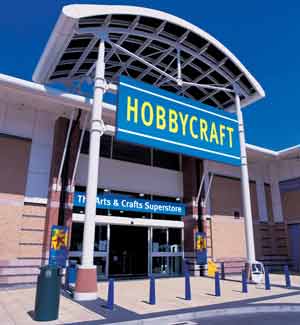
 I began my designing and creating by visiting different places to gather my resources. I went to Hobbycraft to purchase white clown makeup, as well as pallets of different coloured paint. I bought a variety of different sized sponges and paintbrushes to use. While I was in Hobbycraft I also picked up some pieces of card, some string and ribbon. I also found two white plain paintable masks which I then added to my collection! I also went to a joke shop and purchased some fake blood in case I needed to use this. On the way home I popped into Tesco's to buy some red balloons too! I also borrowed a clown hat from my neighbour.
 When I returned home I used my dining room table for my painting and designing. In pencil I began by drawing onto a piece of card the ruffles that would usually be placed on a clown costume. I painted each section orange and red because I thought this was a creepy colour combination and scrunched up tissue paper into balls and glued them onto the card when it the paint had dried. I made holes in the corner of each and put a piece of string through - this would hold the ruffles onto the model's body.
After this I moved onto my clown mask. I began by painting on the arch evil eyebrows black and painted little wrinkles at the top. I then painted green triangles around the eye area and a bright red circle for the nose. This was followed by the mouth which I penciled in first to make sure I didnt make a mistake. I drew lots of sharp teeth (because this was a factor existing evil clowns have!) and filled the rest of the mouth in black to make it seem dark and mysterious. This was topped off with the red outline around the mouth - a clown feature.


No comments:
Post a Comment